How to recreate this GithubPage?
For this tutorial, we are going to use Github and Jekyll.
What is Github?
GitHub is a provider of Internet hosting for software development and version control using Git. It provides access control and several collaboration features such as bug tracking
What is Jekyll?
Jekyll is a static site generator. It takes text written in your favorite markup language and uses layouts to create a static website. You can browse through various templates from here .
Let’s Get Started
1. Browse Templates in Jekyll
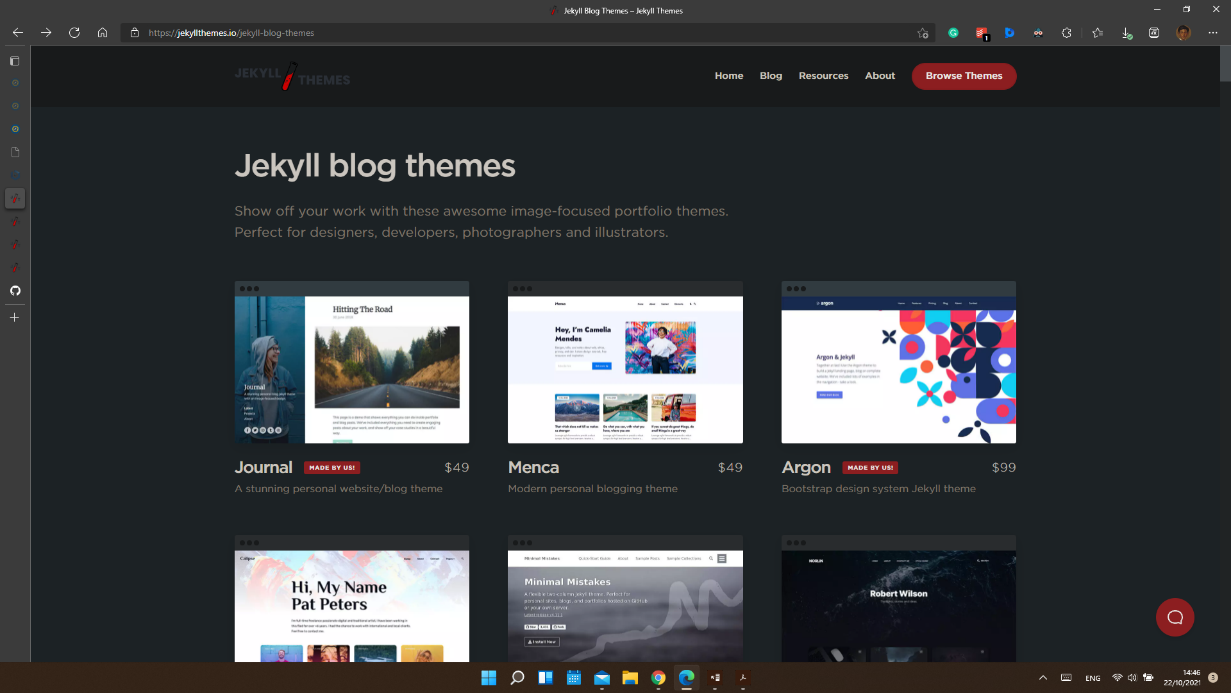 Go to https://jekyllthemes.io/ and search for Mediator template
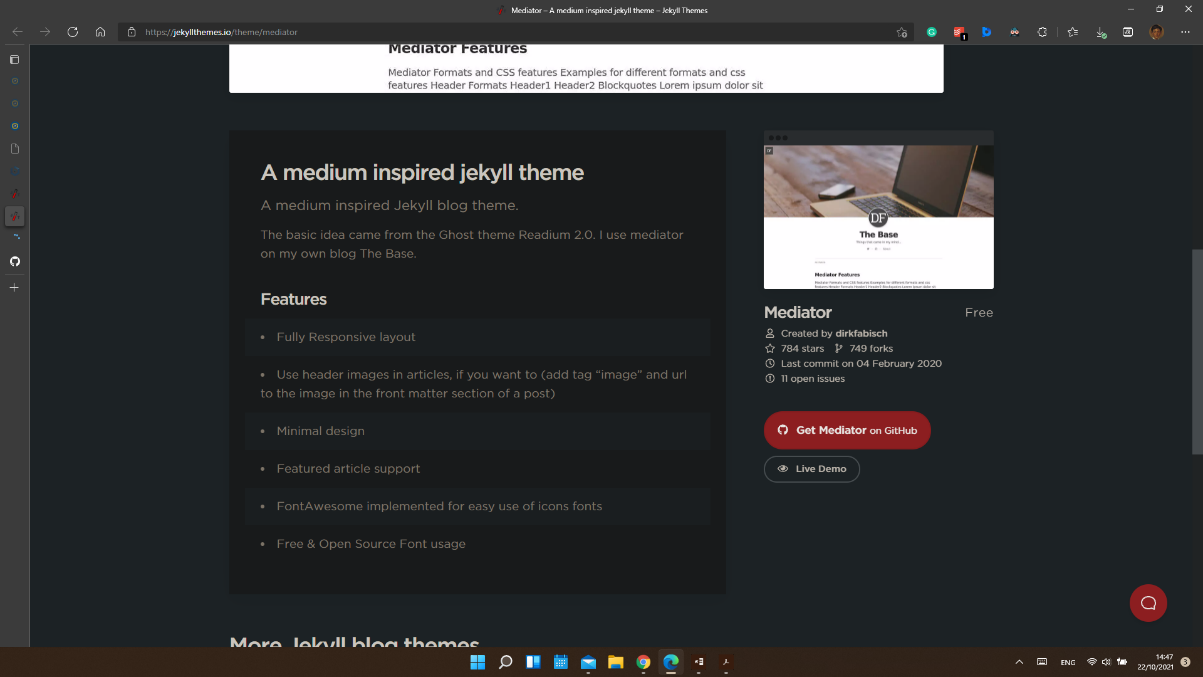
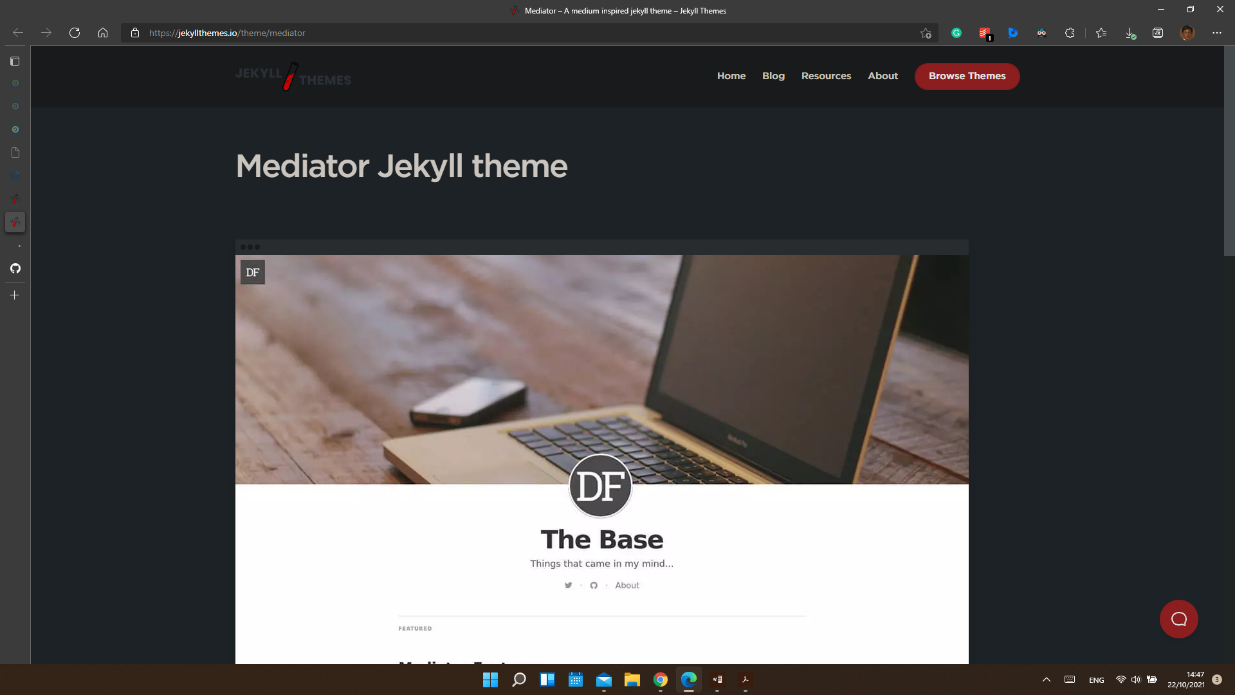 Then click Get Mediator on GitHub.
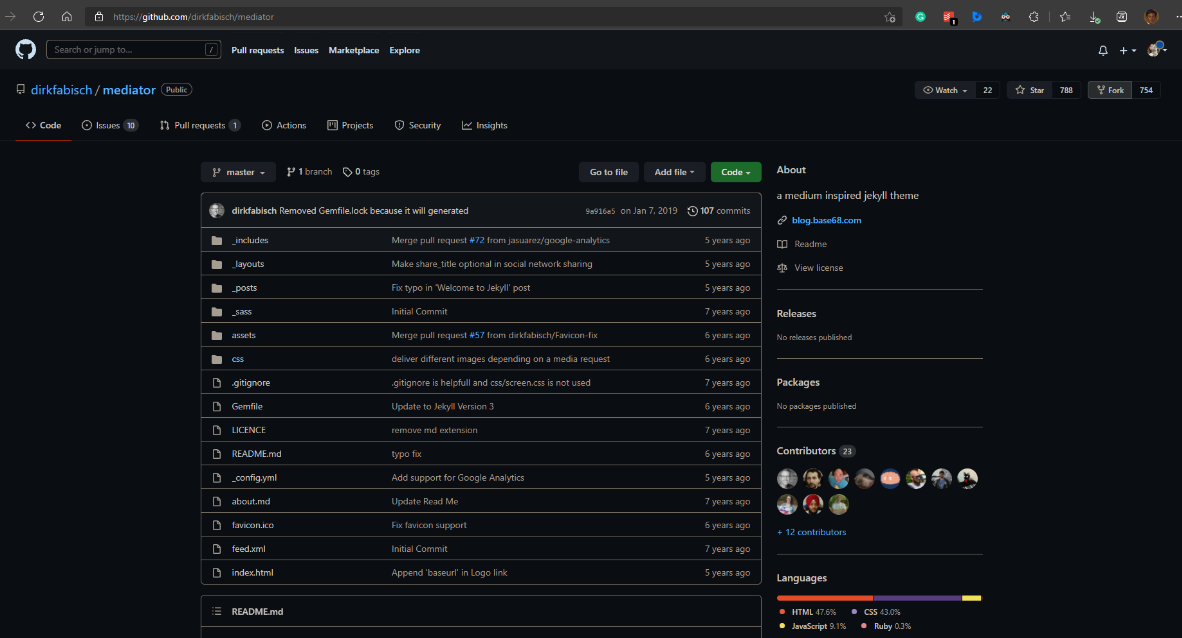
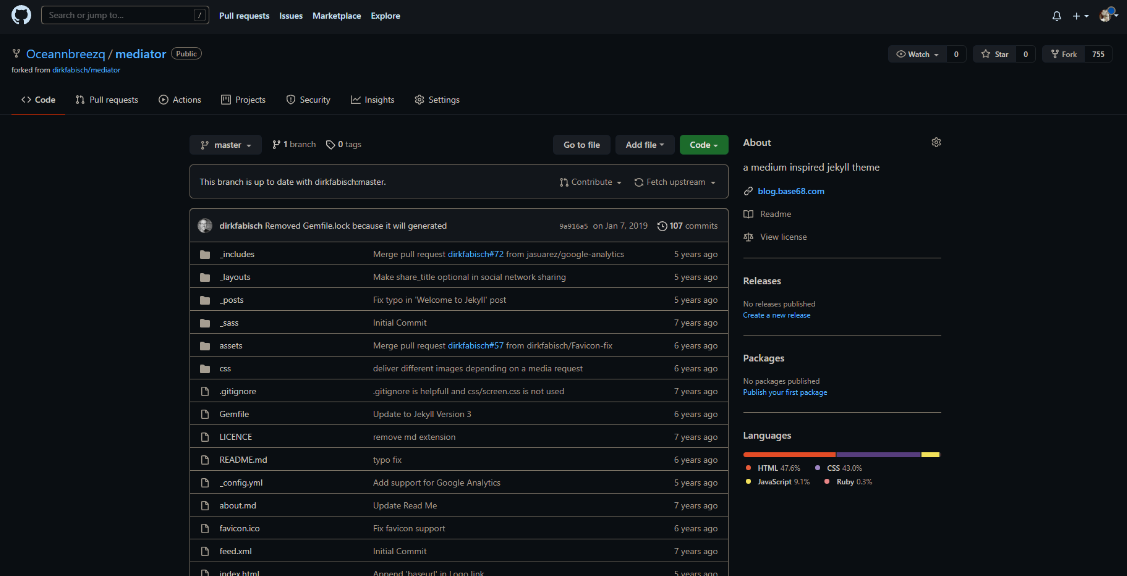
 When the content is finished loading, the Mediator repository will appear
2. Fork the Repository
To use this template, we just need to fork this repository by clicking the Fork button in the top right corner.
 If you have, it will be seen that this repository is ours and there is an inscription that this repository is forked from dirkfabisch/mediator
3. Edit the Repository Details
We can rename this repository (to make it more personal) by going to Settings, then renaming the repository.
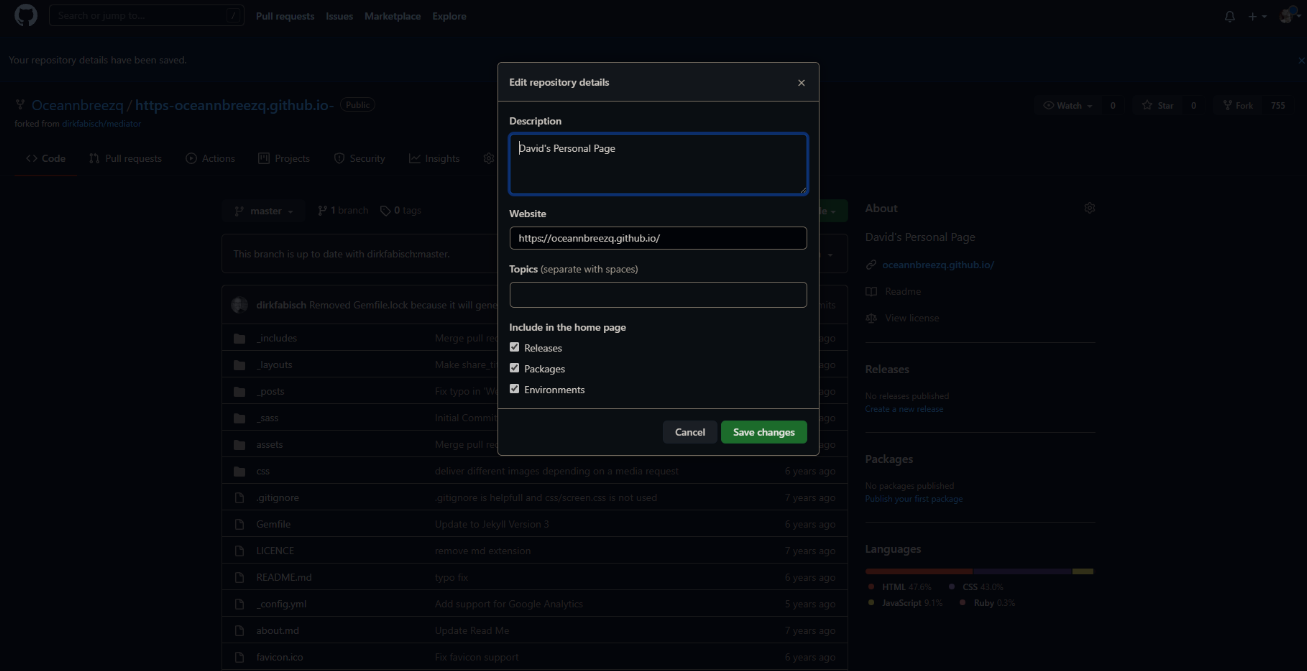
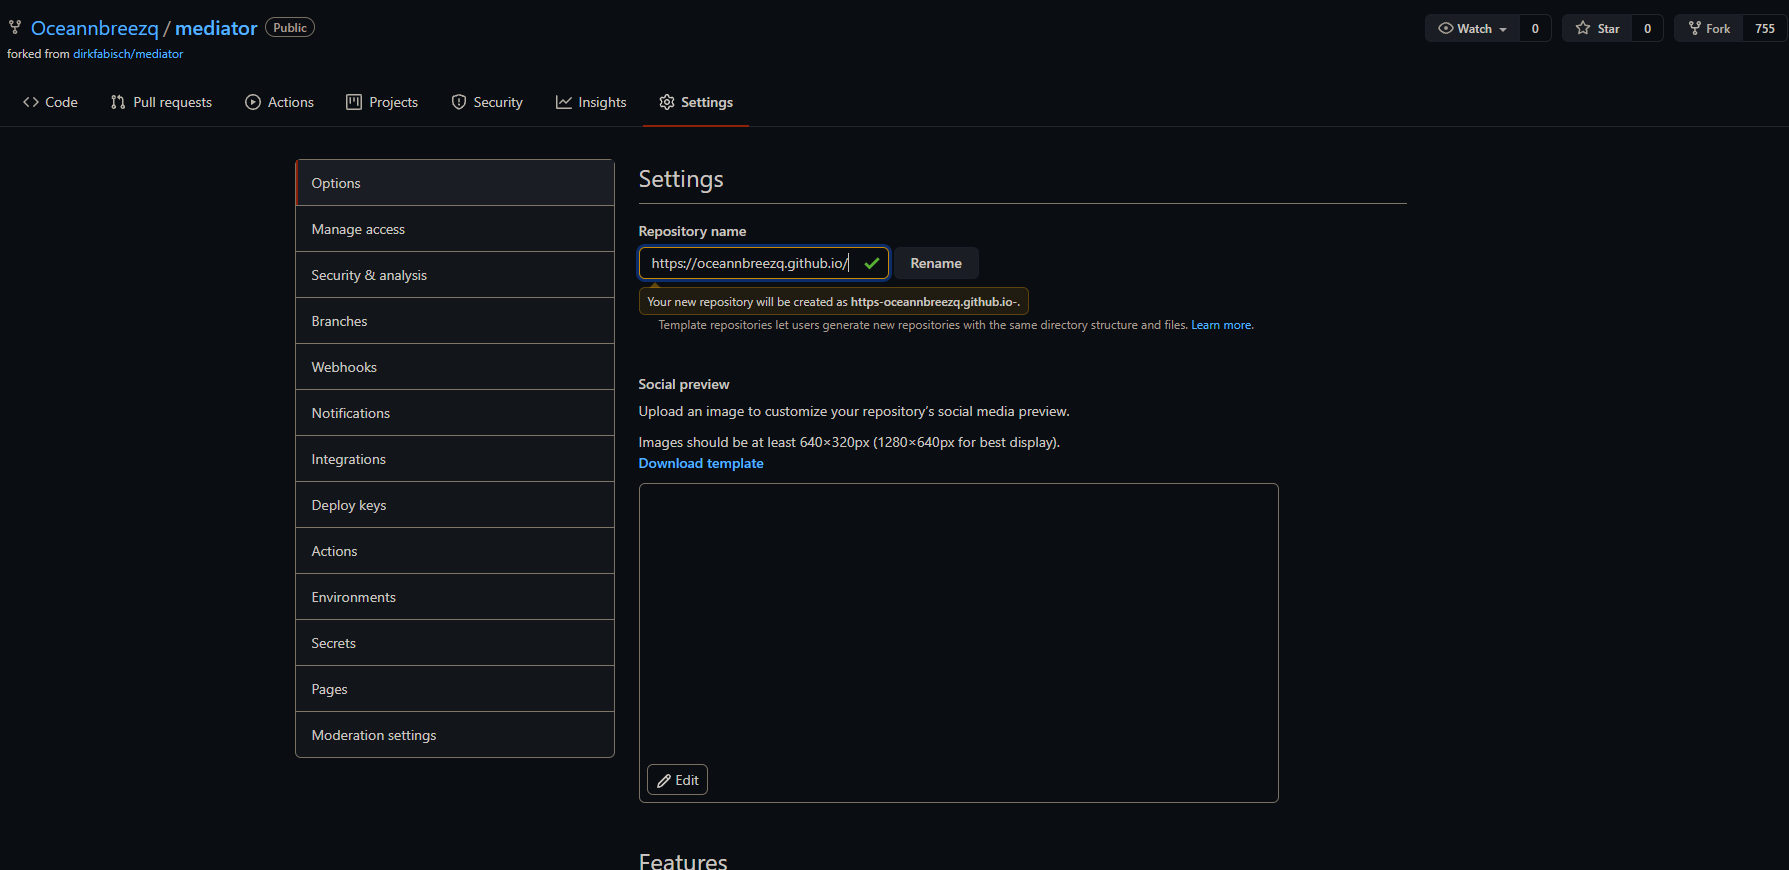 Back to the Code section, click Settings next to About to edit the details
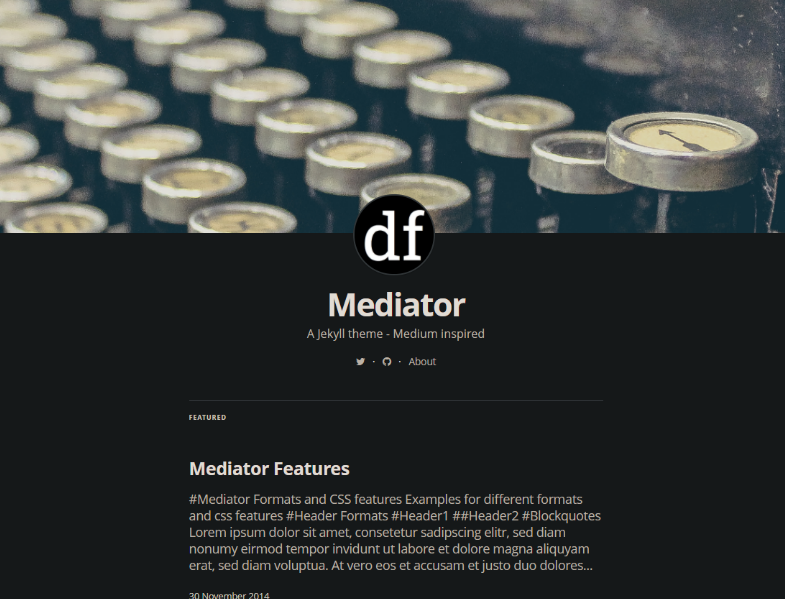
 We can already see the initial appearance of the blog (same as the template) by going to the personal website link provided by GitHub (username.github.io)
Customize the Blog
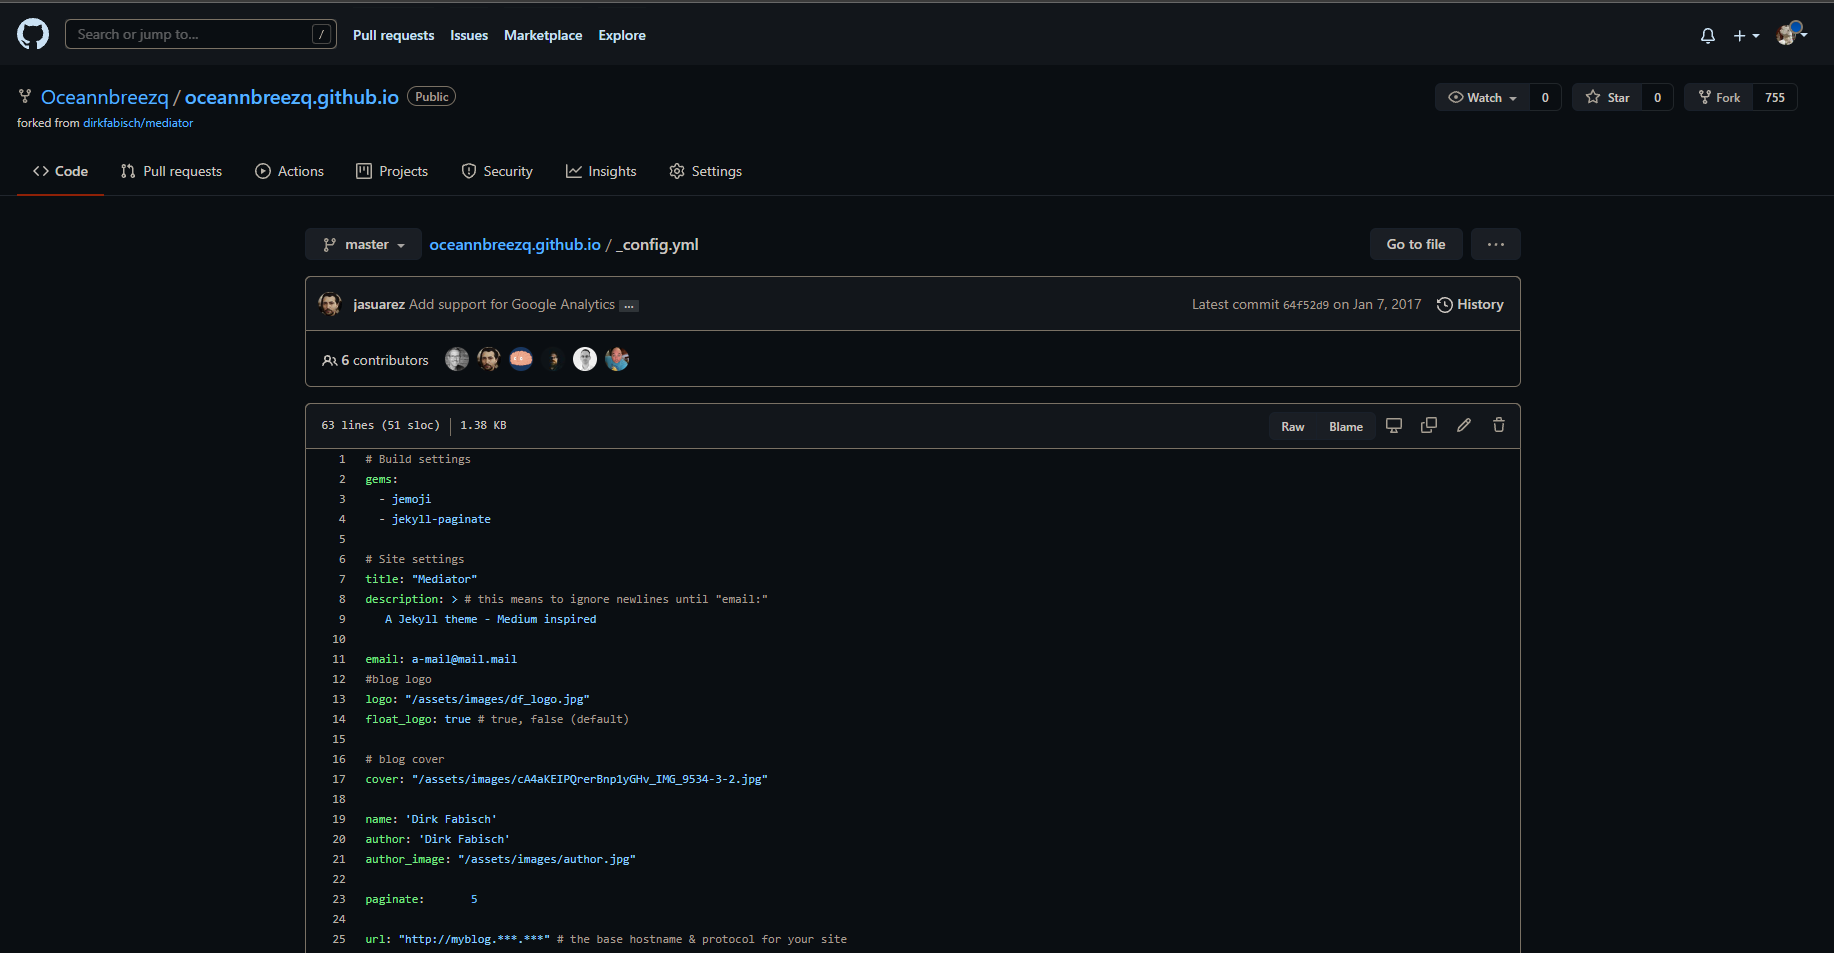
Go to config.yml to change the title of the blog and the blog images
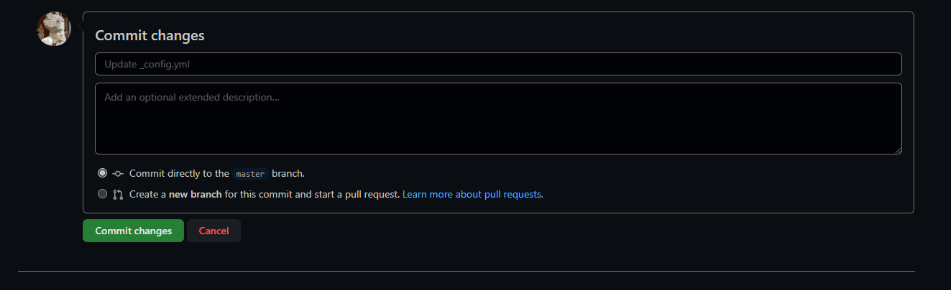
 After we edit the elements, we must commit the changes by clicking the Commit changes button
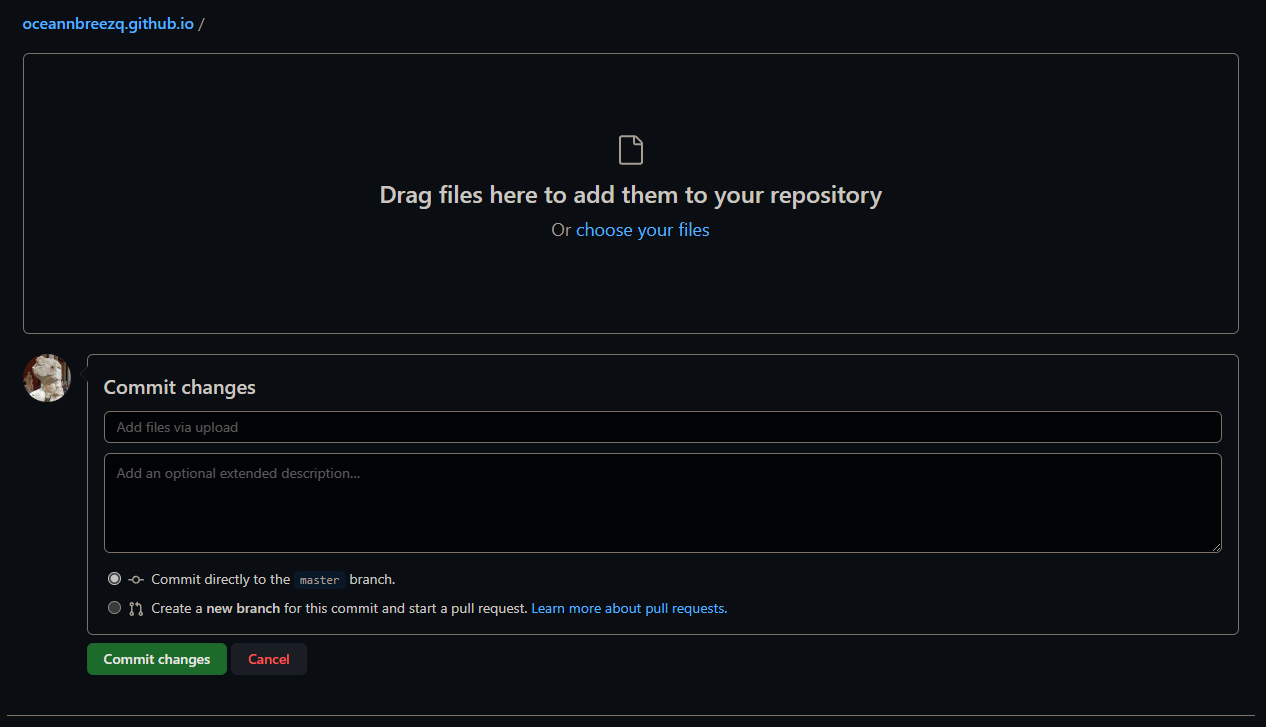
We can upload images to the repo by clicking the Add file button, and Upload files
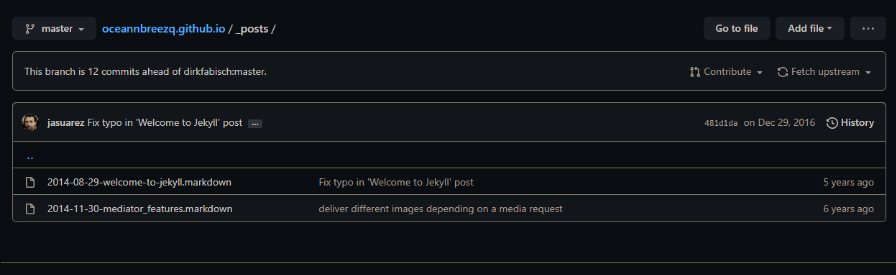
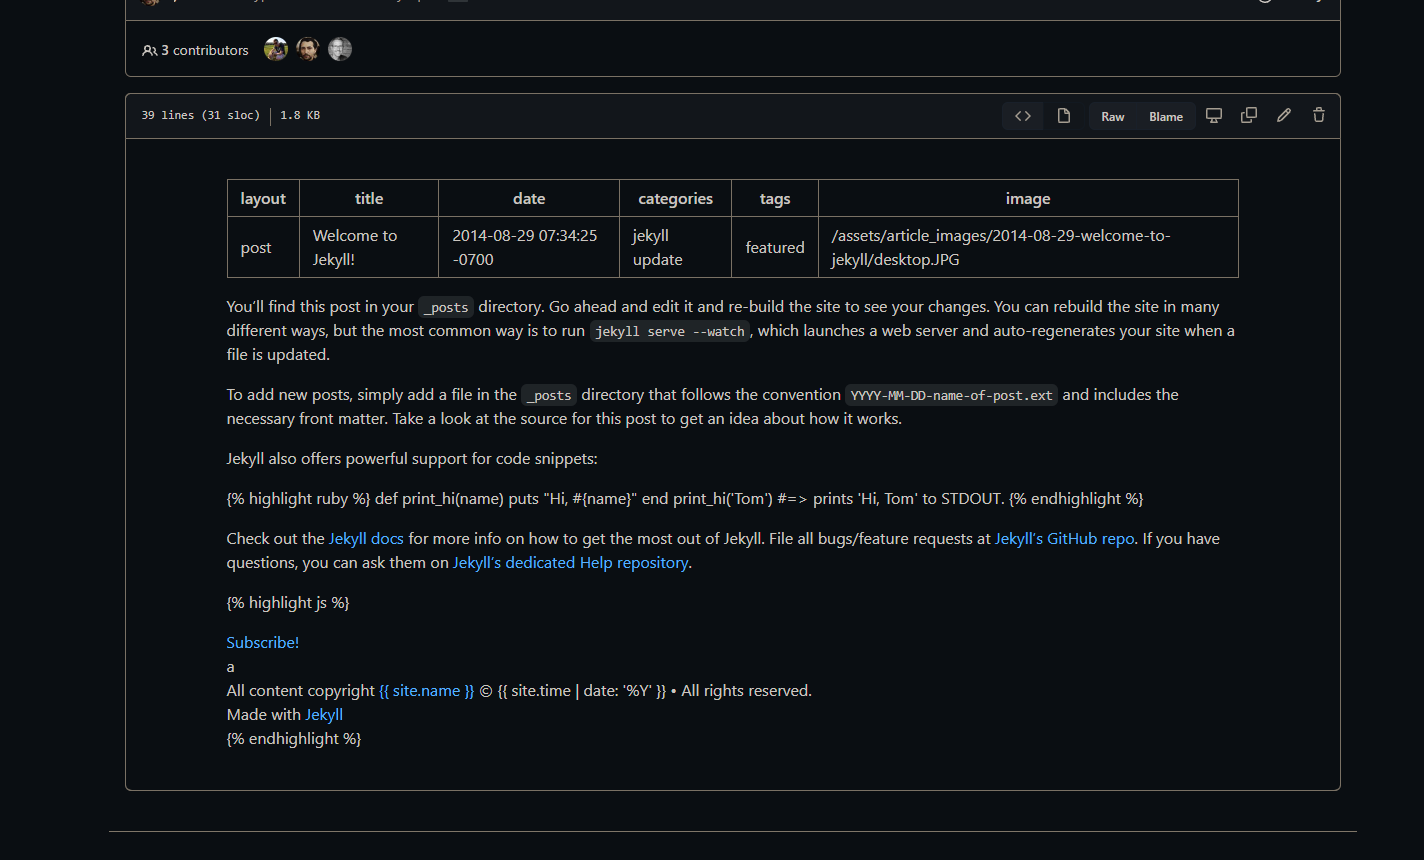
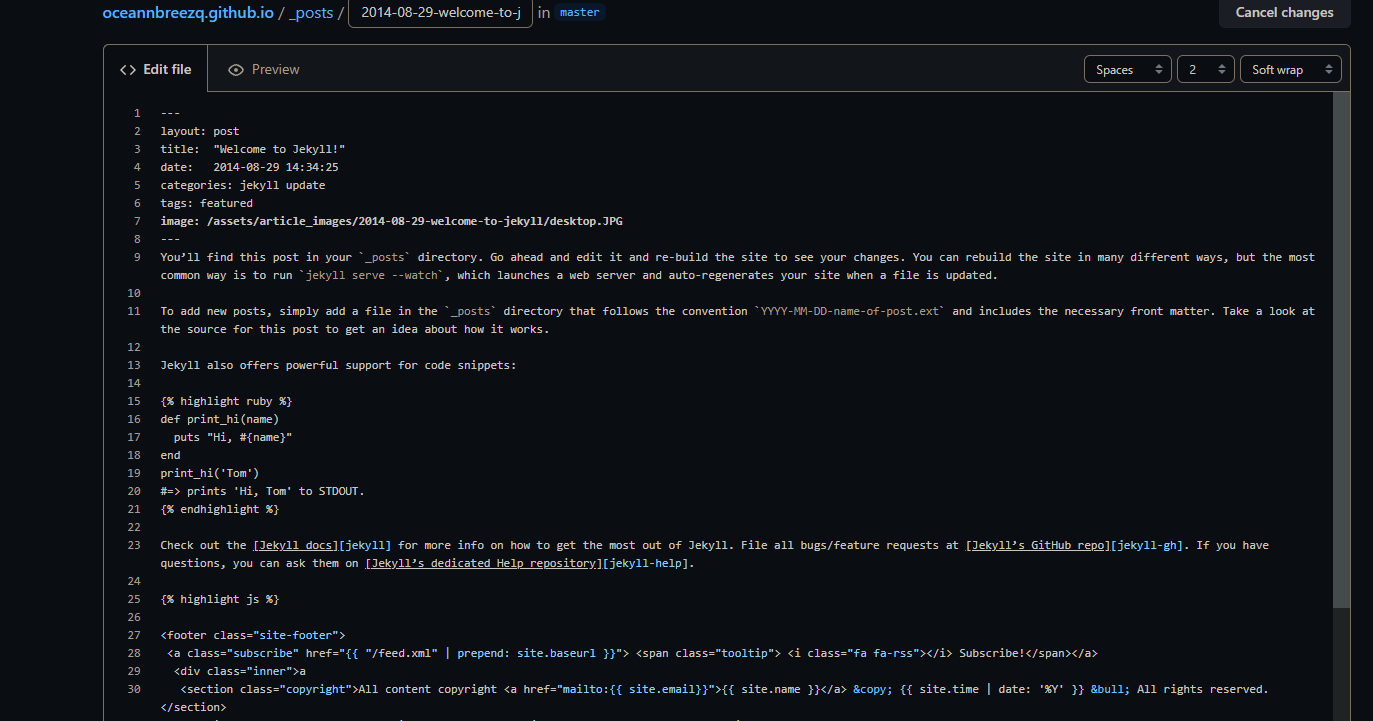
This template already provide 2 example pages, the Welcome to Jekyll and Mediator Features. We can easily edit those pages by going to the __post folder, and edit the pages.
And there you go. You’ve created your own Blog using Github Pages and Jekyll. If you want to know more, you can watch this tutorial below
Or you can read my report here.